
frame
Howdy, Stranger!
It looks like you're new here. If you want to get involved, click one of these buttons!
Sign In RegisterHowdy, Stranger!
It looks like you're new here. If you want to get involved, click one of these buttons!
Quick Links
Categories
- 1.3K All Categories
- 7.3K General
- 6.2K General Discussions
- 412 Feature Request/Bug Report
- 545 Sales Questions and Answers
- 54 Time4VPS Life
- 242 Help requests
- 244 Server management
- 381 Tutorials
- 68 Various Tutorials
- 63 Web hosting control panels
- 133 Performance and Security
- 29 Web Applications
- 63 Linux Applications
- 25 Windows VPS


Howdy, Stranger!
It looks like you've been lurking for a while.
If you register, we also will remember what you have read and notify you about new comments. You will also be able to participate in discussions.
So if you'd like to get involved, register for an account, it'll only take you a minute!
How to Setup Password Authentication with Apache on Ubuntu 20.04?
 Ievaz
Administrator
Ievaz
Administrator
Apache is a free, open-source webserver. Any user can access your application over the Internet when it is hosted on an Apache webserver.
In some cases, you might need to secure your application, that only authenticated users can access the application hosted on your server. You can protect your application by using Apache htpasswd.
So in this tutorial, we will show you how to set up the password authentication with Apache on Ubuntu 20.04
- Connect to your server as a root and update your base system with the latest available packages:
apt-get update -y
- Then install Apache:
apt-get install apache2 apache2-utils -y
- After installing Apache, run the following commands to start the Apache service and enable it to start after system reboot:
systemctl start apache2
systemctl enable apache2
- Then open your browser and navigate to the URL http://your-server-ip. You should see your default Apache web page:
- Now you need to create a password file so that Apache can use to authenticate users. You can create a hidden .htpasswd file withing /etc/apache2 directory for a user named test_user using the htpasswd utility:
htpasswd -c /etc/apache2/.htpasswd test_user
- Now enter the chosen password for your test_user:
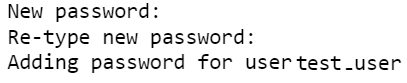
This will create a .htpasswd file with user credentials. Those credentials will be used to access your site.
- Now you need to create a directory for your website with the following command:
mkdir /var/www/html/domain_name
- Now create an index.html file inside your web directory:
nano /var/www/html/domain_name/index.html
- Then add the following content there:

- Now change the ownership of your web directory to www-data:
chown -R www-data:www-data /var/www/html/domain_name
- Now you need to create an Apache virtual host configuration file for your website and define basic authentication:
nano /etc/apache2/sites-available/domain.conf
- There add the following lines:
< VirtualHost *:80>
ServerAdmin webmaster@domain_name
ServerName domain_name
DocumentRoot /var/www/html/domain_name
DirectoryIndex index.html
ErrorLog ${APACHE_LOG_DIR}/error.log
CustomLog ${APACHE_LOG_DIR}/access.log combined
< Directory "/var/www/html/domain_name">
AuthType Basic
AuthName "Restricted Content"
AuthUserFile /etc/apache2/.htpasswd
Require valid-user
< /Directory>
< /VirtualHost>
- Ater that, check the Apache for any syntax errors with the following command:
apachectl -t
You should get the output:

- Tehn enable the Apache virtual host file for your website with the following command:
a2ensite example.conf
- And restart Apache:
systemctl restart apache2
Now your site should be secured with Apache basic authentication.
- To check it, open your web browser and type the URL http://domain_name.
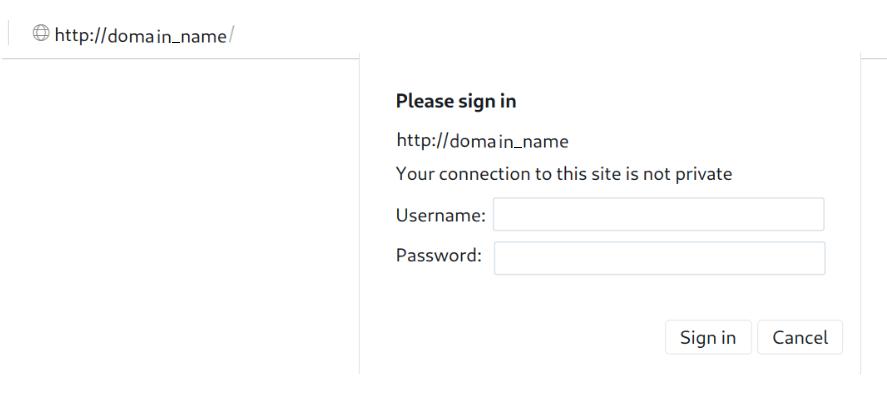
- Then enter your username and password and click on the Sign in button. You should see your website default page:

foot
Feel free to join our constantly expanding community, participate in discussions, strengthen your knowledge on Linux and Windows server management!
© 2013 - 2025 Time4VPS. All rights reserved.